Tuesday, August 30, 2005

Metal Finishing

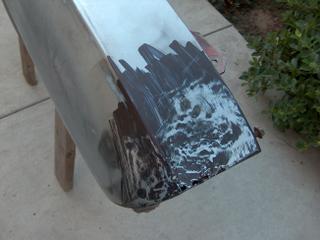
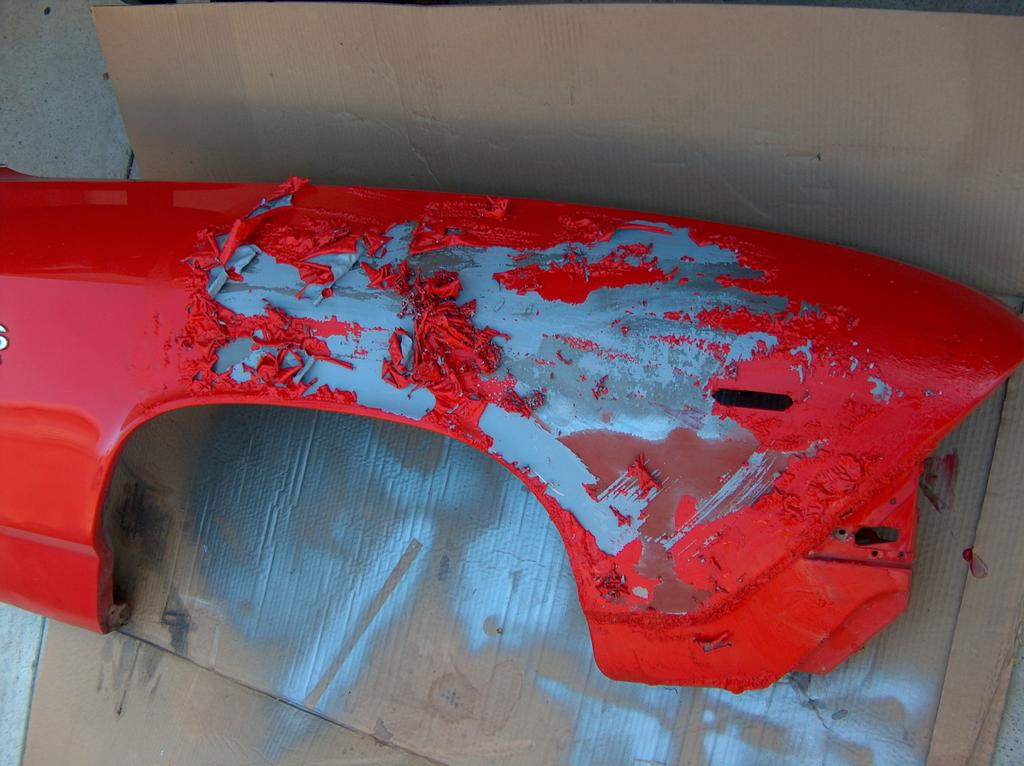
This step is required to get the metal flat and to use as little body filer as possible. I used a nice huge felt pen to mark the area and then use a fine tooth file to shave off the top. This shows the high and low areas of the damaged areas.

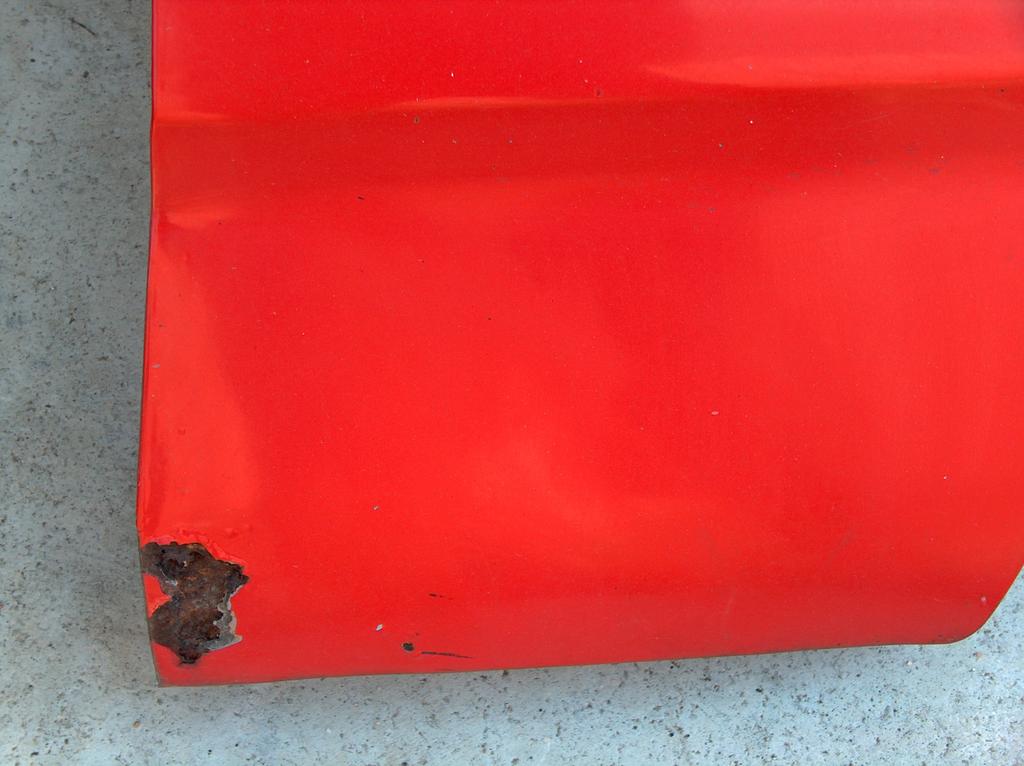
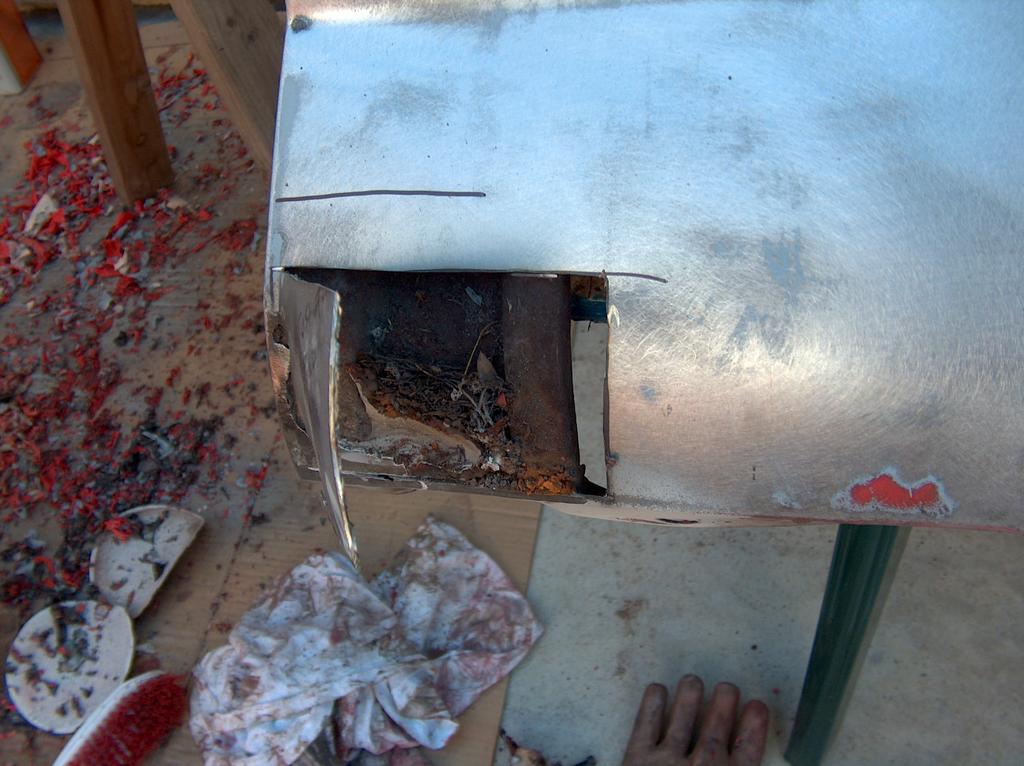
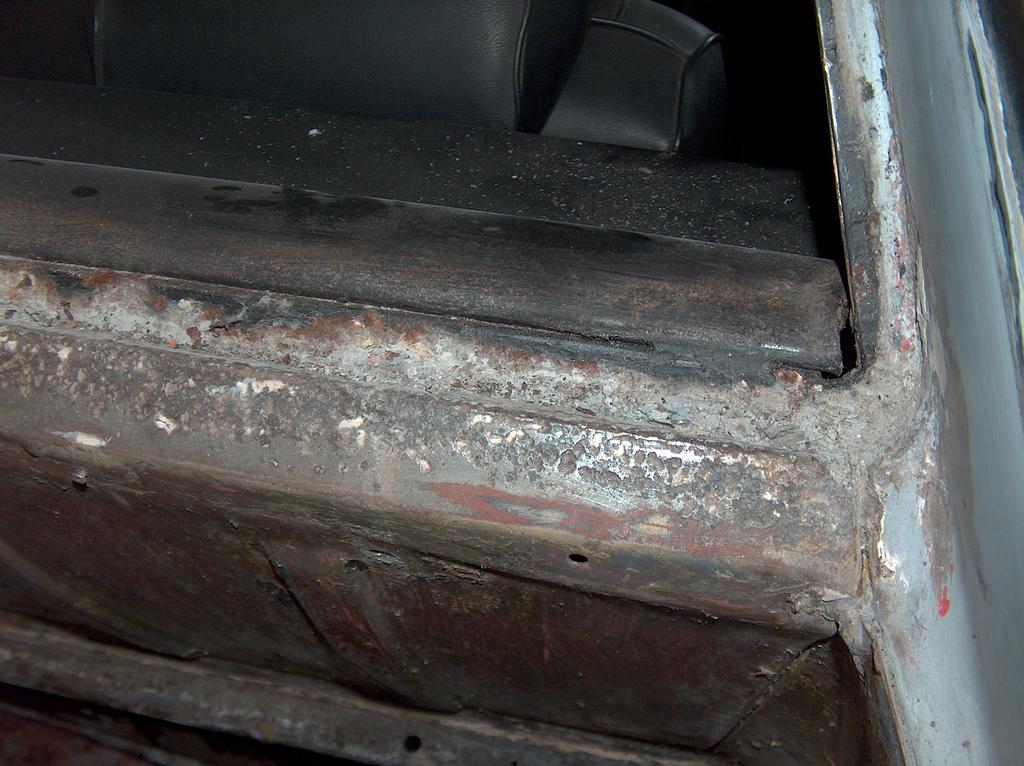
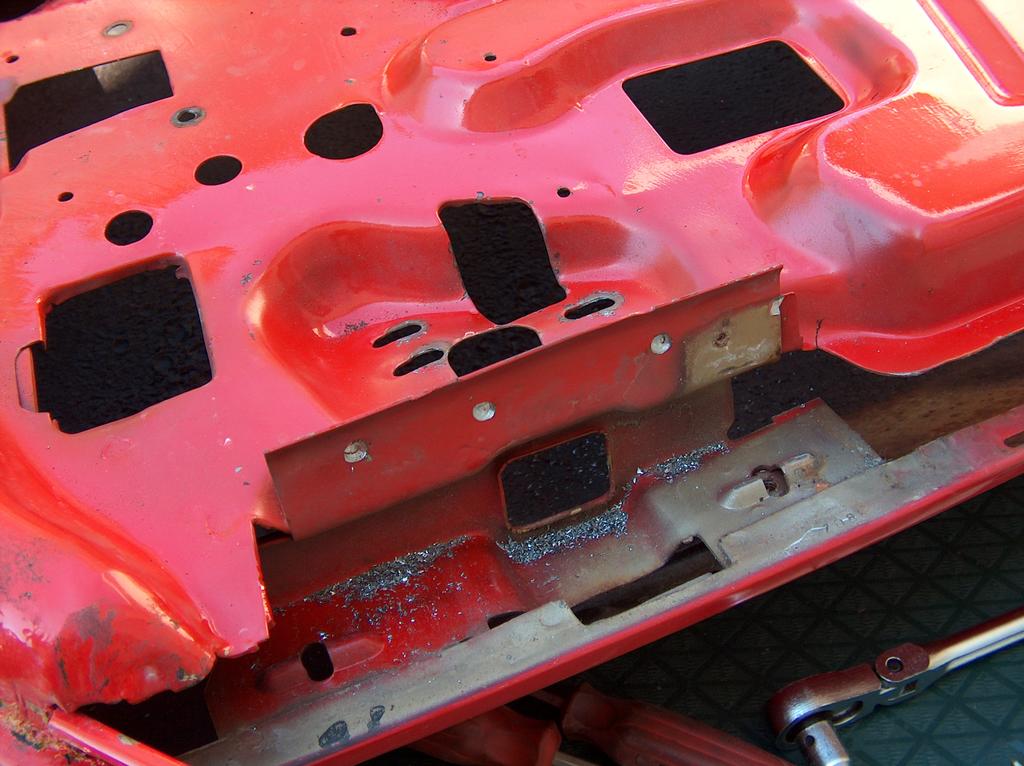
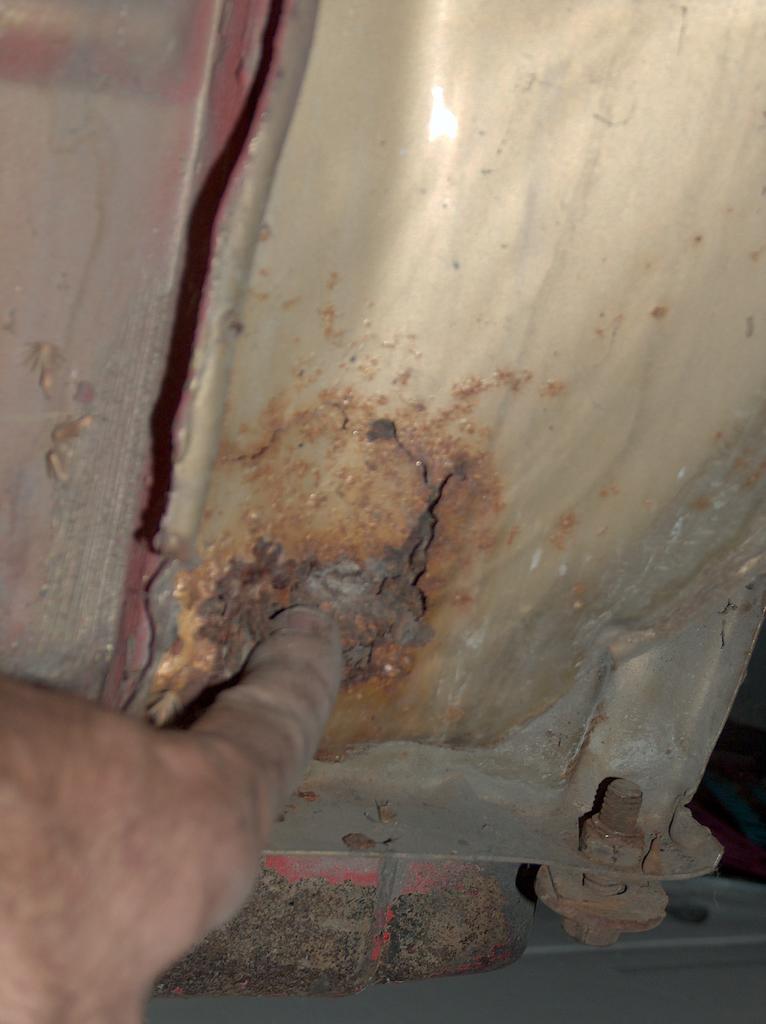
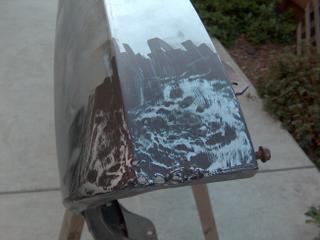
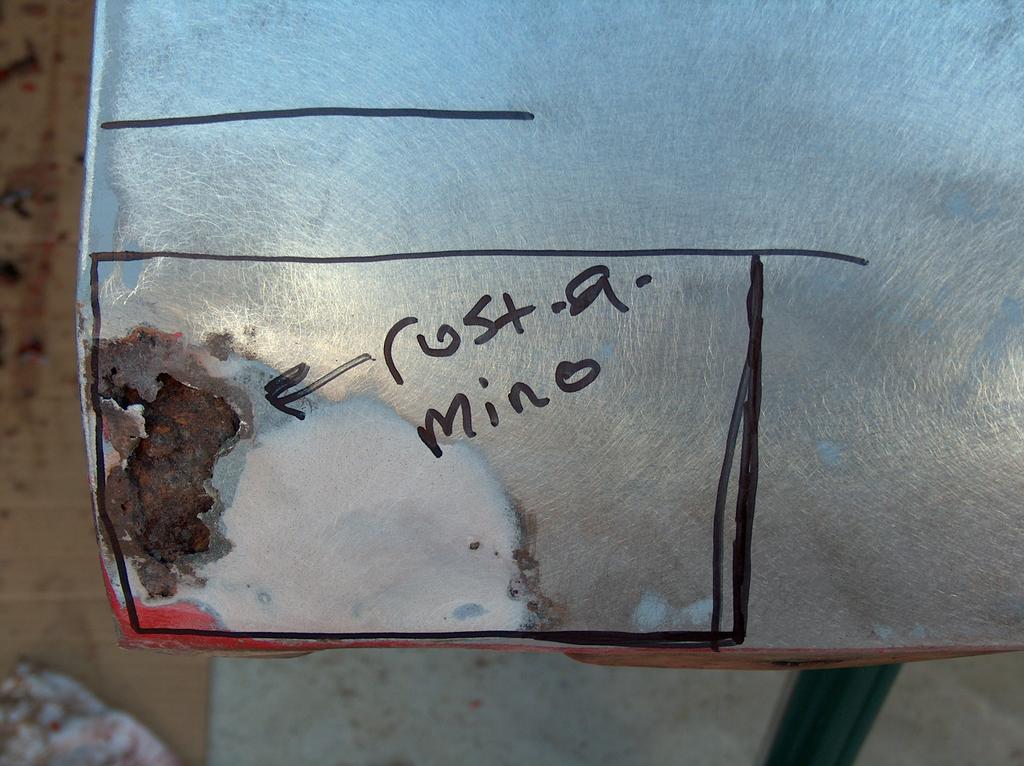
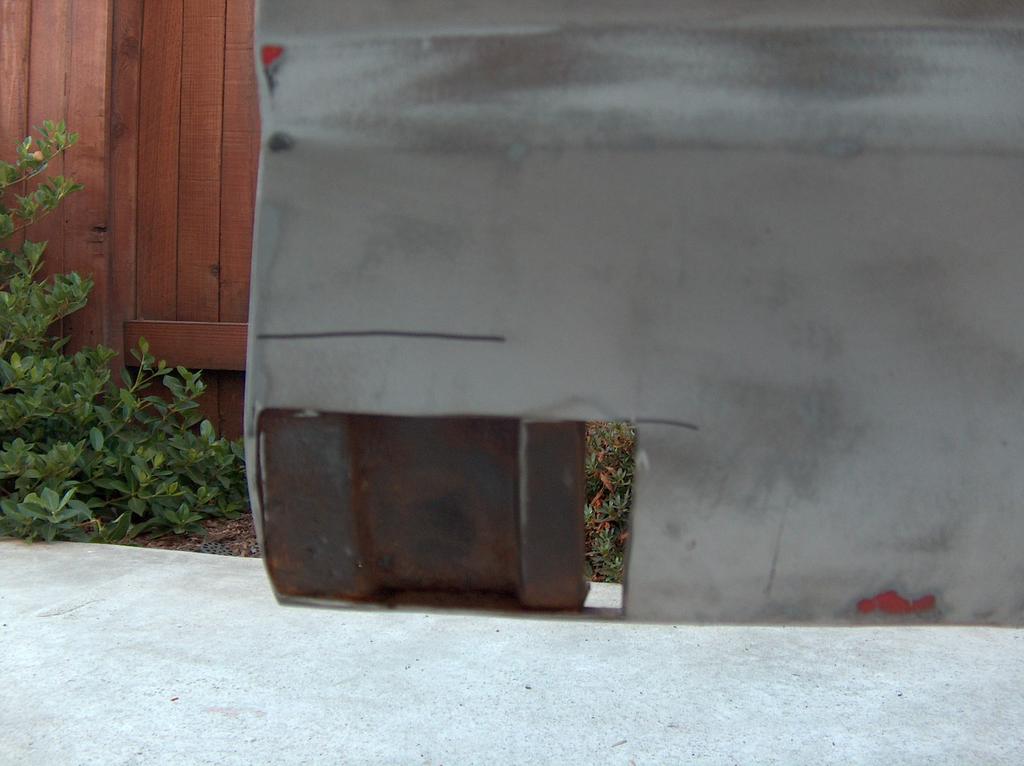
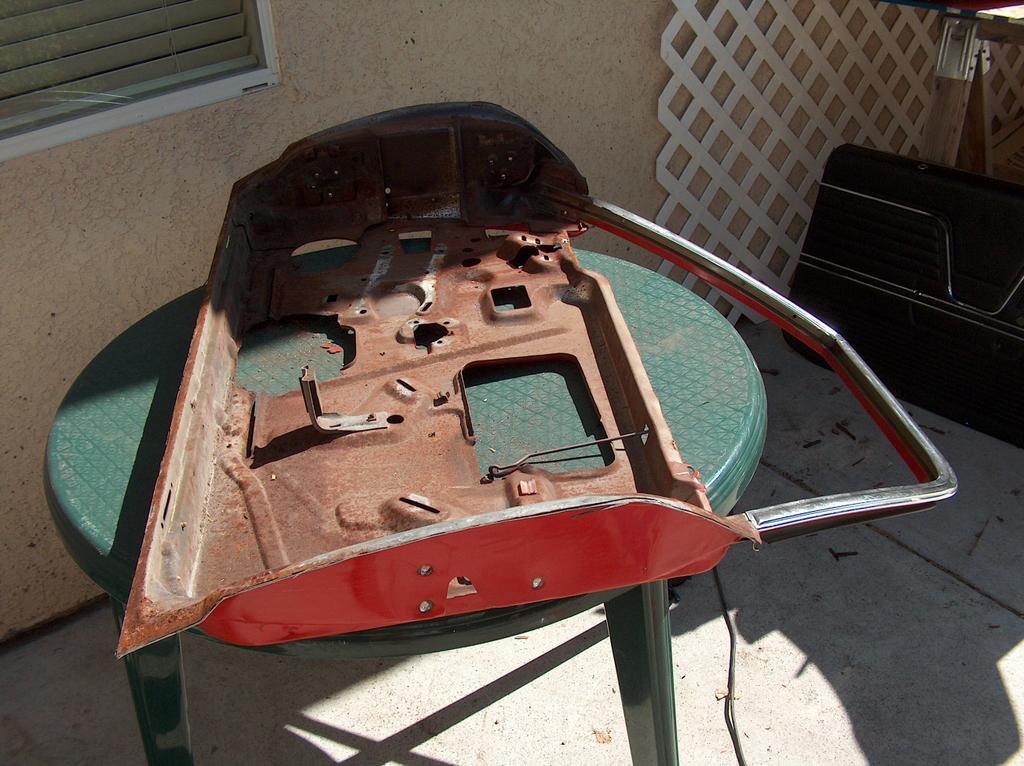
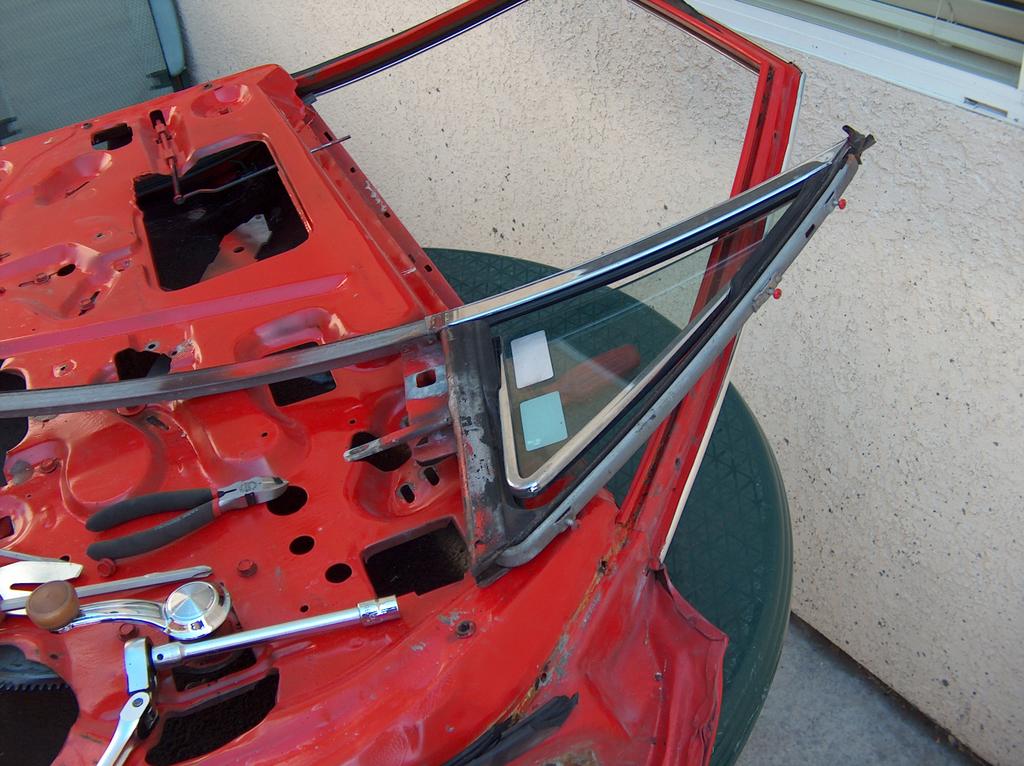
Here is a pics so far..


As you can see, this was beated pretty good by someone and someone drilled some huge holes in the front. These spots will need to get welded in and ground down.

Monday, August 29, 2005

Cut it out!!!!

Here is the 'usual' rust patches that appear on these old rusties.


As you care see the rust patch. After drawing the outline get out the cutoff wheel and cut the piece out. I saved this piece for my friend Phil.


Here is after the piece was cut out and the rust was ground down. My buddy Phil loves rusty cars.


I'm surprised there were no critters stuck inside this litte hole. Looks like this stuff has been in there for a few years eh!


This is what it should look like after you have cut a good section out and ground the rust down with a wire wheel. The next step now is to treat the rust and then apply some POR before welding up the patches.

Friday, August 26, 2005

Time for Stripper.....

Before


After


Spent last night stripping the right front fender. Previously, I had some crack head fix the nice gash from backing out of my parents driveway (my neighbor used some long ass bolts that stuck out from the fence post, which caused my front fender to look like a tuna can lid). The dumbass that fixed it just slapped a huge coat of putty on it. After 15 years, the filler cracked and looks like poop now. Anway, time to fix it the right way with some hot welds and filler. More to come.....

Rustaholic....

Sunday, August 21, 2005

Box into Main Panel

Spent most of the day trying to figure out how to get this box in place. Decided to put it right above the main panel since I'm running the conduit up the wall. Most people in the 'hood are running theirs just the opposite. However, they are going into the ground and running the wire to their pools or hot tubs.


Here is another picture of the panel with the front plate off. You can see a 3/4" hole that has a lock ring installed. I was planning on using the hole right behind that one since it has a 1" opening. If I can get the wires throught the 3/4 hole I might do it.

Thursday, August 18, 2005

More Rust....no way!

Why else is it named the 'Rustamino' More rust was found on the back window and the lower right fender.


This is some bad mojo...... time to cut it out. And replace it with some new sheetmeat. :>)


The back window had to come out. As you can see, I'm glad it's out. Now I can spend some time carving up this back section. I have not decided to replace the full panel or just use the patch panel I already have now. It's not going in anytime soon though, I still need a welder!!!!


Amazing!!! I found a nice stack of old vintage leaves that have been preserved in my fenderwell. :>) These are aged to perfection and look great..


Thats a big stack o leaves.......


Until next time, I'll be working on some phase of the rustamino. The front clip is off the car now so I can clean the front up.

I also have the door skin off the shell and I'm getting ready to prep the shell. I tried using the wire wheel but that takes to damn long. Think it's time for a visit to Harbor Freight for the pressure blaster to get these bigger parts done.

Rust on......

Friday, August 12, 2005

Door Skinin'


Here are the steps for skinning a door. The removal process is pretty easy and requires basic tools like a grinder and a drill. The first step is to get the door off.


2. Next, take off door panel


4. Take out window and side vents:


5. Grind outer edge of door skin just enough to see the internal door shell structure. Don't take off too much or else you will start taking the edge off the internal shell.


6. Drill out all the spot welds on the door with a drill bit or spot weld cutter. I had to use a drill bit and go slowly over the edges of the door


Friday, August 05, 2005

220V update

I have about half the conduit installed outside now. Here are a few pics. The only left to do in finish the conduit around the corner to the main box and then run the wire.


The picture below shows where I need to cut a hole in the roof to get the conduit through. The angled box will run down


This is where the conduit will go through the wall into the garage.