Monday, April 14, 2008

Primer going on

Just started spraying some K38 and blocking out a few small pieces. Also just started working on doing some filer work on the fenders. Next step is to wipe them down , shoot another coat of epoxy on them then 3-4 coats of primer and bloxk sand.

Wednesday, March 26, 2008

Old roof out.....

Just got done cutting out the old roof, now in the process of prepping and painting the supports.


GOT RUST


Giving it a bath in some etch
.

Friday, March 14, 2008

New Steering Box (Grand Cherokee)

Just got finished tearing apart the 94 Jeep Grand Cherokee steering box. Got it rebuilt in a day or so. Here she is all nice and shiny. This box has a bigger t-bar and fast ratio for better road feel. Picked it up for $20 and grabbed a $30 seal kit. Looks great now....

Before:


After:

Thursday, March 06, 2008

New Roof on the way


Just ordered up a new replacement roof skin. Hopefully I'll be able to take the skin off this weekend, clean up the rust, and then epoxy the inside.

Sunday, March 02, 2008

Time to get Cracking...

Just got done working on the frame tonight. Welded up the shock towers and smoothed out the welds. Still need to grind down the front frame rails and smooth them out, then apply some metal filler on the top.

In the next few weeks, I'll finish the welding and grinding on the frame.

Thursday, July 19, 2007

New Press!


Just picked up my new 12 ton press today, hopefully be able to get the rearend put back together now. Needed the press to install the pinon bearings so I don't have to run back and forth to the shop.


Things I need to finish:
1. Press in bearings on new Eaton posi unit
2. Press off bearing from pinion
3. Press on pinion bearing and shim
4. adjust backlash
5. install gearset

Tuesday, April 24, 2007

Quarter Panels Off

Time to bust out the air chisel and rip off this rusty quarter panel. Not to bad on the inside.


A nice fresh coat of SPI epoxy

Friday, January 26, 2007

Smugglers Box Going in........

Here are some pics of the smugglers box gettting welded in. I drilled holes every 2" along the top and bottom of the panel and will plug weld all along the top and bottom


Welds are getting better too, nice and flat with no blow thru

Sunday, January 21, 2007

Trial fitting the back panels....

Here are a few shots of the back panels getting fitted. This is the lower smugglers box panel that gets welded to the back. This piece fits amazingly well for a repro piece. It's made by Dynacorn and will work much better than the old rusted piece.
Sprayed with good coat of zinc primer:


Next, put a nice thick coat of seam sealer:


Trial fit the new smugglers box piece:

Welding in the Center Strip into Floor Pans

Spent part of the morning getting the center piece trimmed and fit for the middle of the floor pan. Seems stupid they don't both to make the pans wide enough to weld together. I just need to finish up the piece on the tranny hump and it's good.

Here is after it's trimmed:


Here the strip is tacked:


I used a piece of blue masking tape to mark off how much to cut:


Now here is the piece tacked into place:

Wednesday, January 17, 2007

Firewall prepped and painted with POR

Spent the evening getting the firewall ready for some POR15 silver. I like this product but it has it's good and bad sides. The area is not that rusty , just a bit of surface rust at most. I prefer to use POR on this since its a strong tough finish. I will be topcoating with some epoxy when the floors are finished. Here are a few pics of before and after.

BEFORE:


After:


Sunday, January 14, 2007

Pans are both in

I just finished putting in the right pan. Went in pretty well and pleased with the results. I have become a much better welder now as a result. The only thing left is to get the center strip cut and tacked into the middle. Then grind down the welds and it should be ready for epoxy.

Here are a few pics of the progress:

Sunday, January 07, 2007

More pan action

I have been spending lots of time trying to get this done right. I learned the hard way on the left pan. If the pan is not sitting right on the brace, when you weld the floor to the pan it wants to lift up. I have a few spots on the left side that didn't come out well. I have been using some small sheet metal screws here are there. Also, start welding from the middle to the out side. I made the mistake of taking the outter edges. By the time I got to the outer edge, there was no room for the metal to go. So a little pounding with a BFH fixed the problem, not perfect but it will work.

Friday, January 05, 2007

Floor Pan Fiesta

Been working on getting the floor pans prepped and ready to weld in.
Both braces have been cleaned and stripped to bare metal and some Eastwood Rust Encapsulator has been sprayed on both. I sanded down the edges and sprayed some weld thru primer for where the pans meet the braces.
Here is a shot of the pans getting ready to go in:


Left pan all welded in now...


Firewall all prepped and now straight as its going to get. Had to hammer and dolly the booster area.


front left fender epoxied and ready to get sprayed with last coat of epoxy.

Tuesday, September 05, 2006

More Cowl Repair

Well I finally got a good days worth of work in to repair the rusted area in the front cowl.

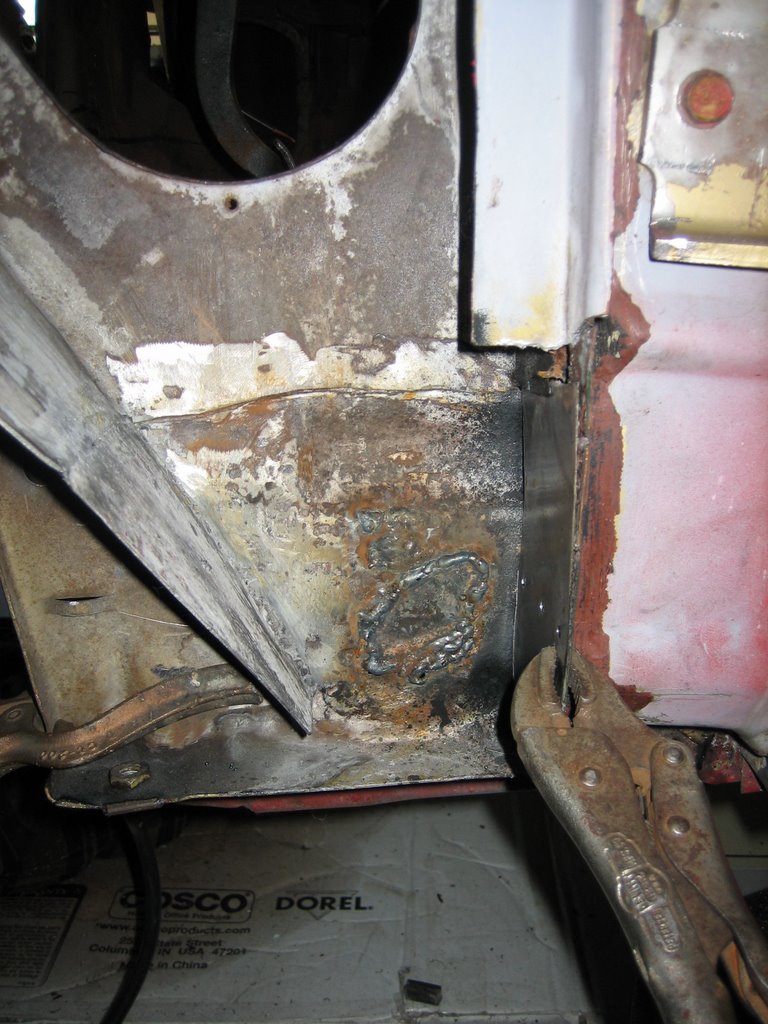
Here is a shot of before some of the welding. The rust pretty much ate through two layers of metal over the last 30 years. I fabbed up a small patch and welded over the top of the hole.


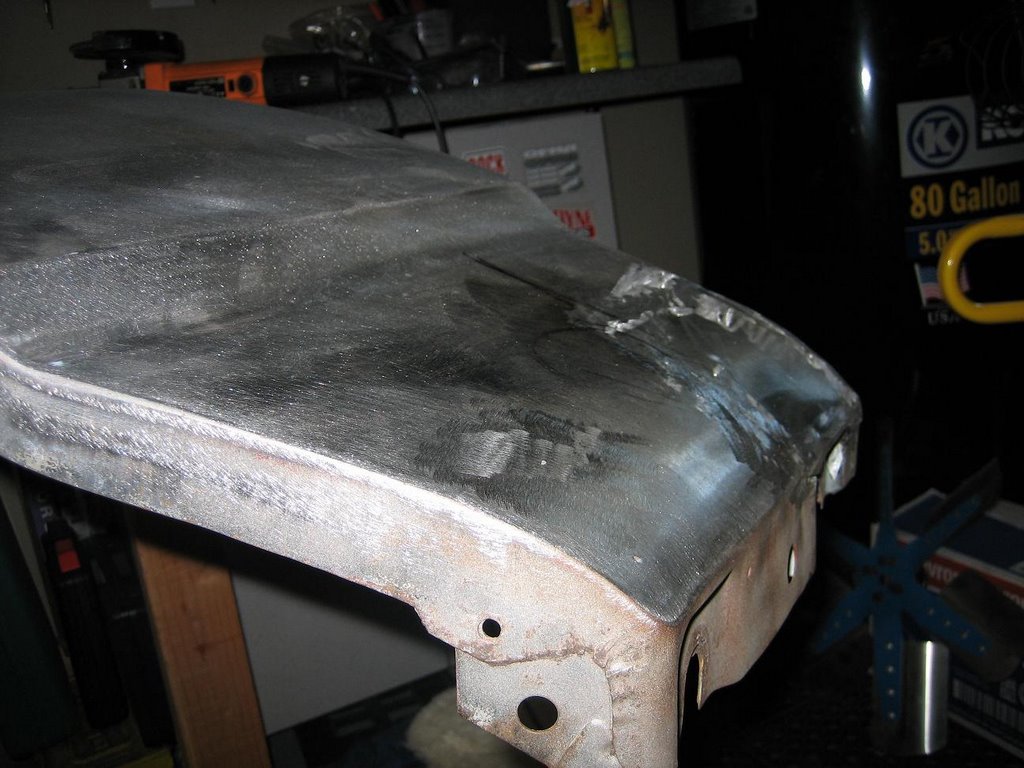
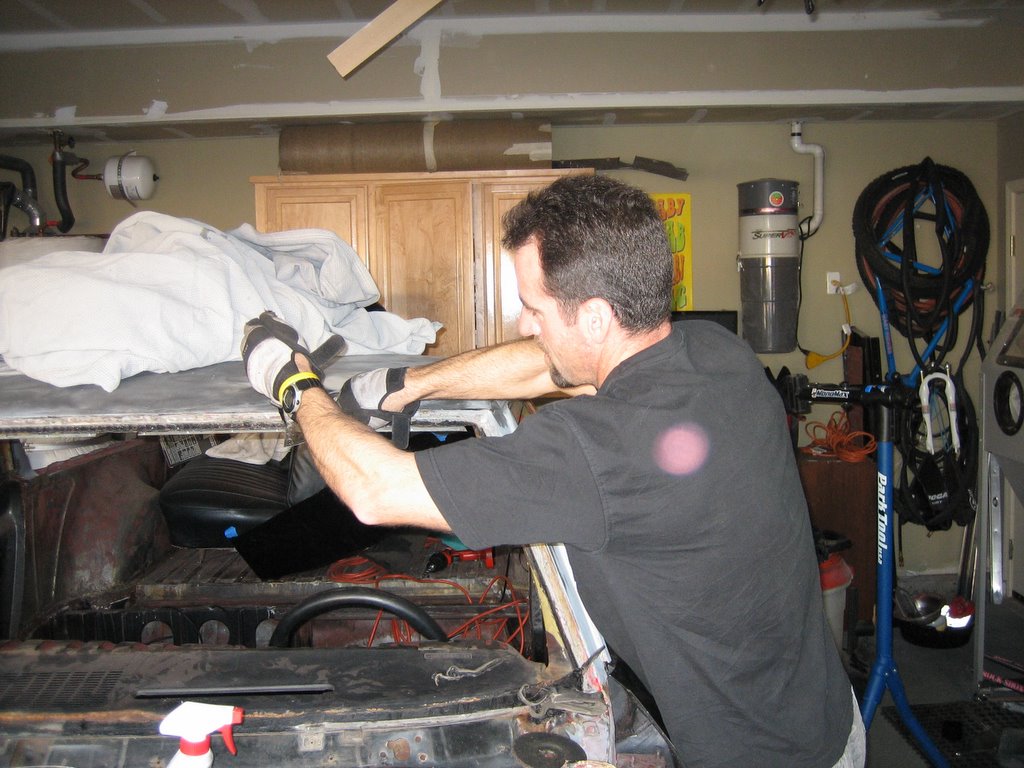
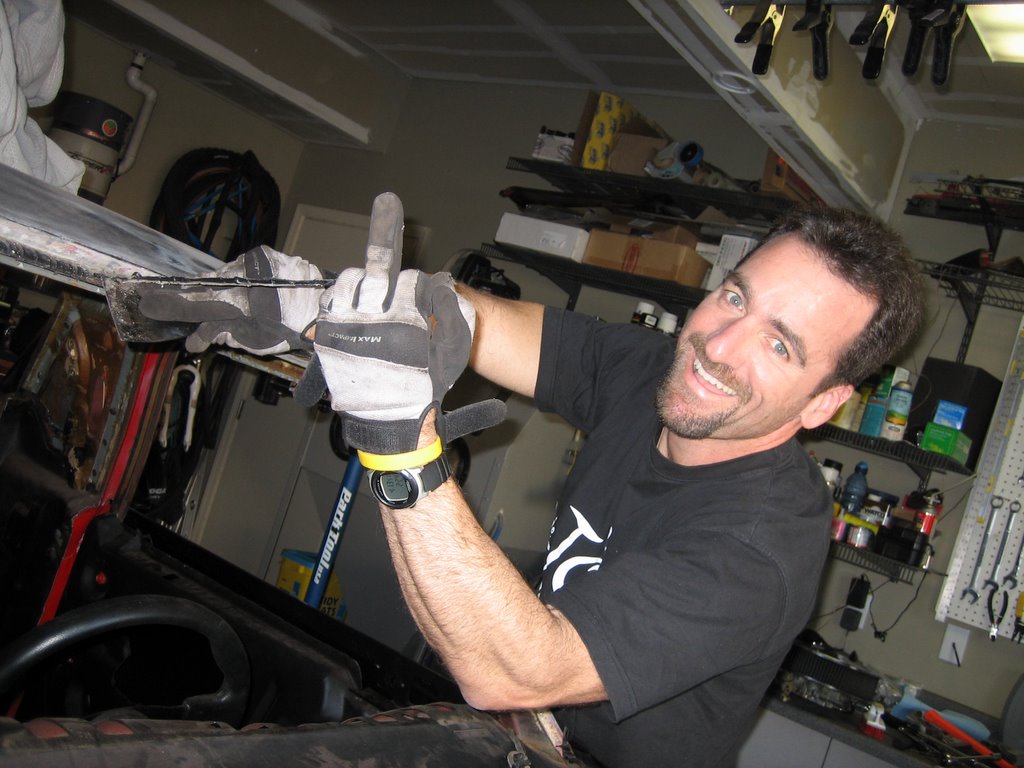
Here is a pic of getting the patches just right before welding them into the cowl.


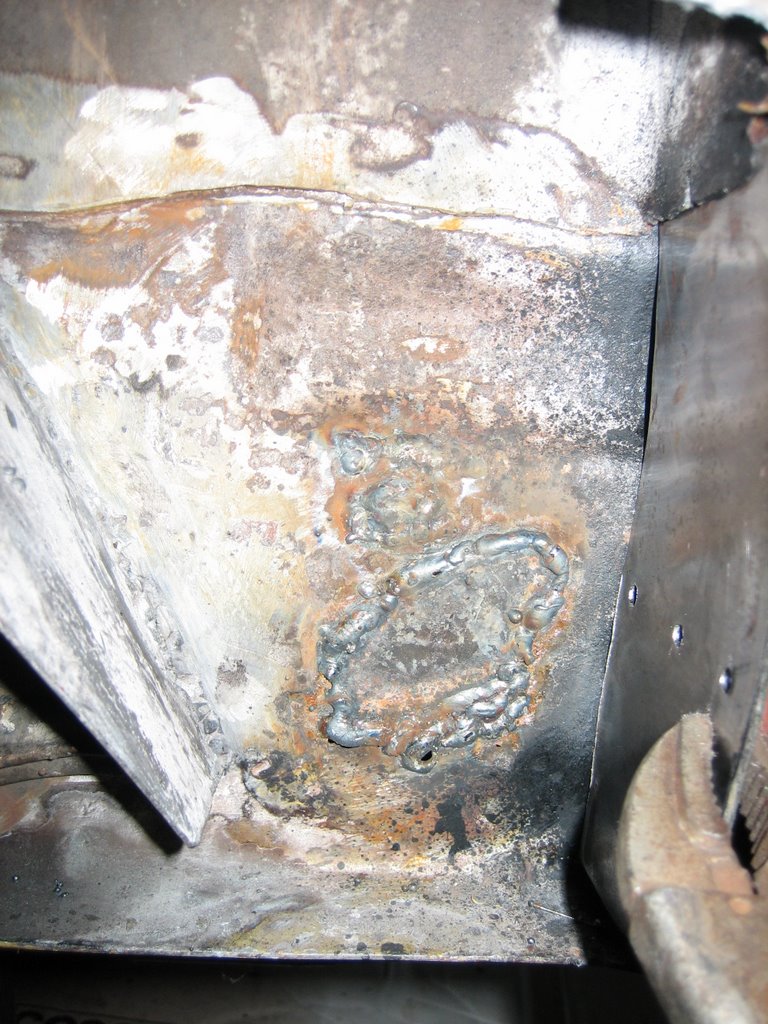
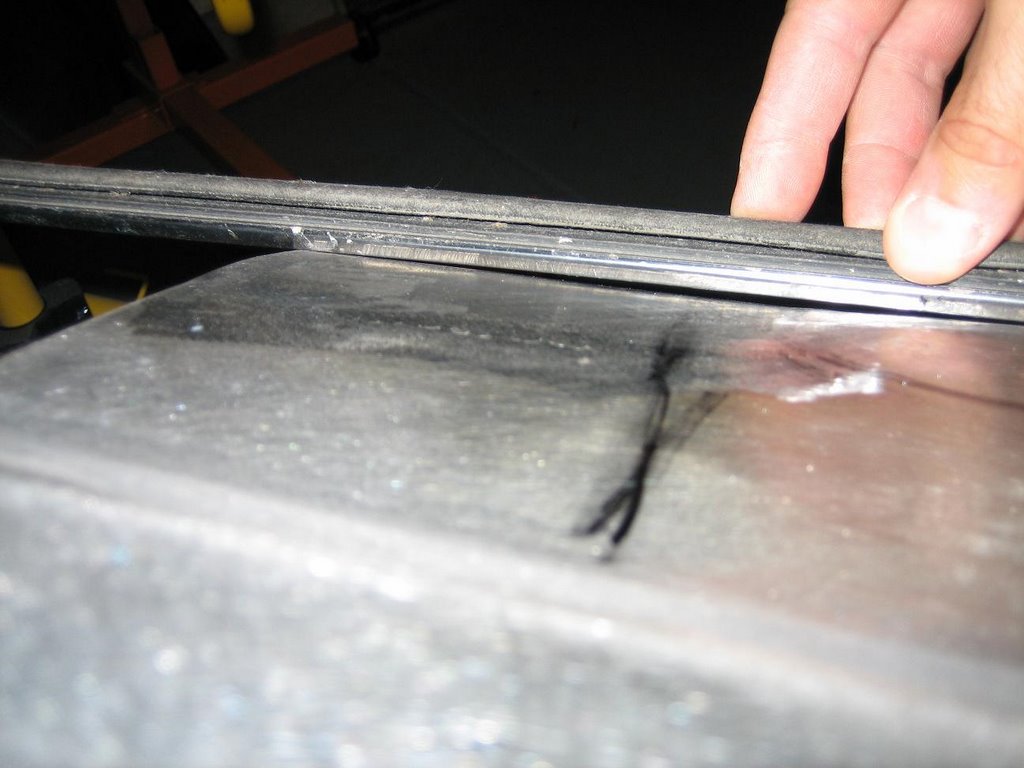
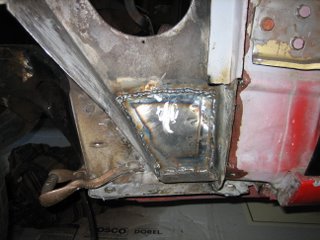
Side patch now welded into place. I tacked this into place and then used some large spot welds with the MIG.


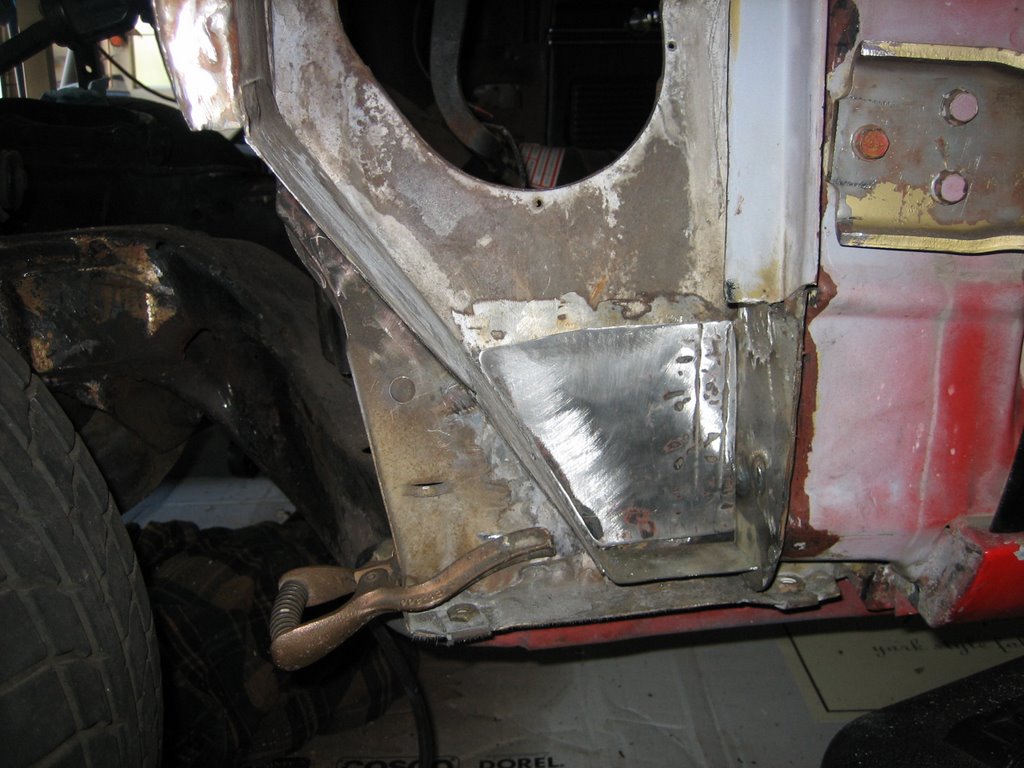
Here is a shot of the patch panel now welded into place and the lower and right patches welded into place. This took lots of grinding and patching to get it just right.


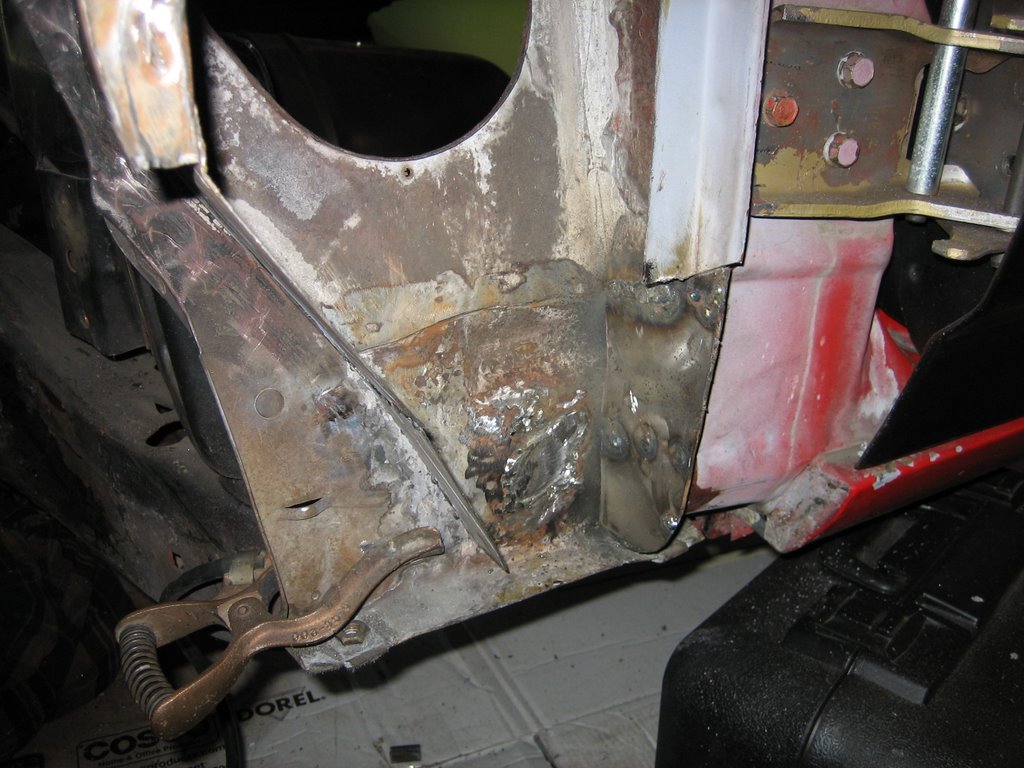
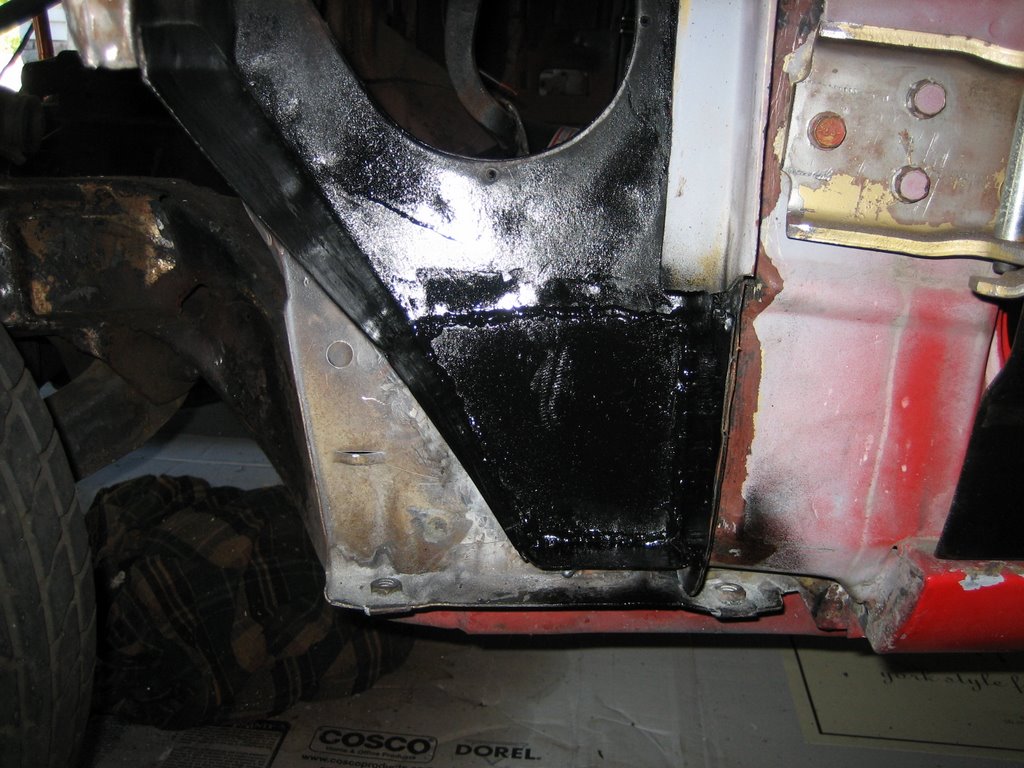
Here is a final pic of the area welded into place and painted ready for the outer cowl to get welded into place now. Before this is done the inside of the cowl will get a good coat of epoxy paint before I proceed.


Friday, August 25, 2006

Patching fender

Here are a few pics from patching the left fender of the Camino. The patch didn't come out as well as I had hoped. The patch warped a little when it was tacked. Still a noob with welding.


This is a pic of the area that's warped. A little hammer and dolly work and it should be ready to go.

Wednesday, March 15, 2006

Block Beat down!!! YEEE Haww

Faster than a mullet burning out in his camaro, I was ready to get into tearing this motor apart. It's got about 15k miles on it since the last rebuild. I was keeping my fingers crossed everything looked okay inside.

Motor Shot


Here is a shot of the block with the pistons and rods


Here is a shot of one of the rods. Not sure if this amount of wear is normal?


All the pistions and rods out now.


Well here is what I was affraid of, I got a cam lobe that looks like it's chipped off a piece of metal. The lifter looks fine but not sure how this camshaft will do now. This was a great street cam, Ultradyne 280/288 112d. Maybe a new roller or Solid cam for the new motor.


Monday, March 13, 2006

New bday toy!

Well, after a long time of having the old 92 CR250, I decided to splurge and get something with a little newer technology. Here is my new ride!


Sunday, February 26, 2006

Windsheild is out....

My buddy Phil came over again to help pull out the front window. He didn't get a chance to grind on the rust though, which is his favoritve pastime.


It's a good thing I pulled the motor when I did. The freeze plugs started to corrode and rust. I tapped the screwdriver into the hole and punched a huge hole in the plug. This time I think we'll need to use the brass plugs.